Exercise 1

Exercise 2

Exercise 3

Exercise 4

Exercise 5

Exercise 6

Exercise 7

Exercise 8

Exercise 9

Exercise 10

Exercise 11
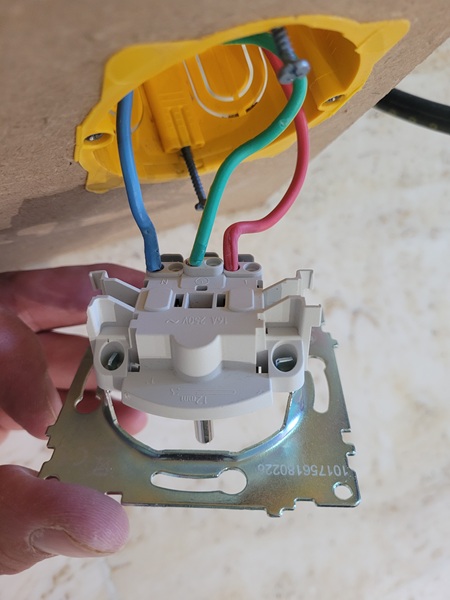
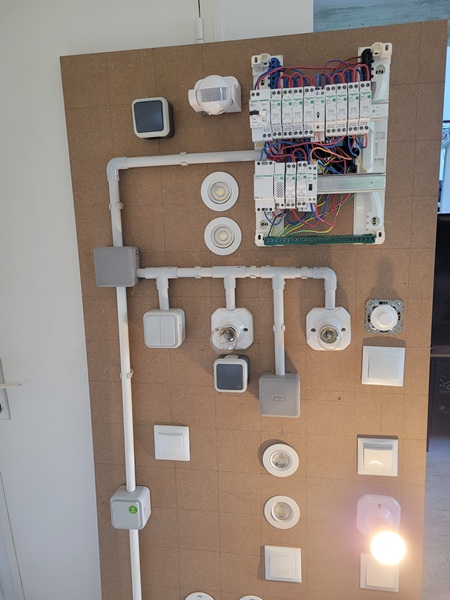
- Don’t strip too much cable
- Wires are quite hard to manipulate. Bend to correct position and snip back to make it all fit into the plug
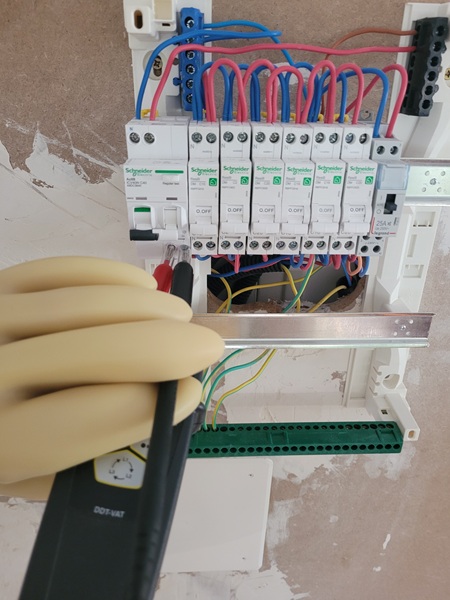
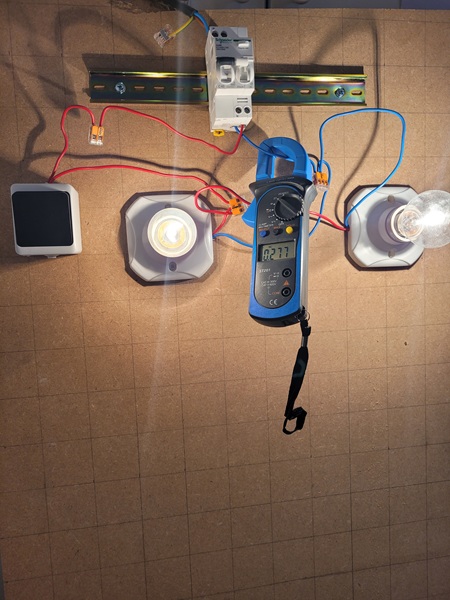
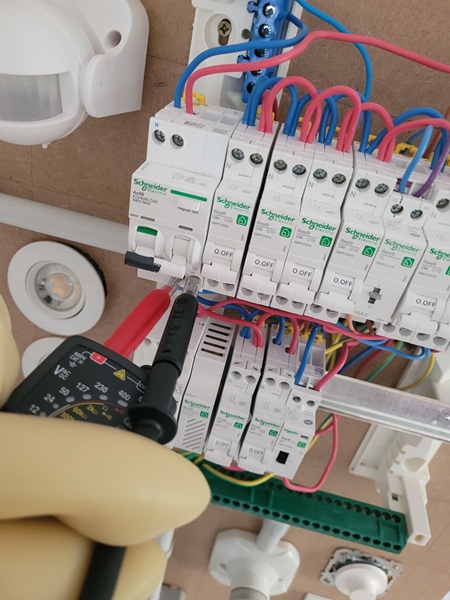
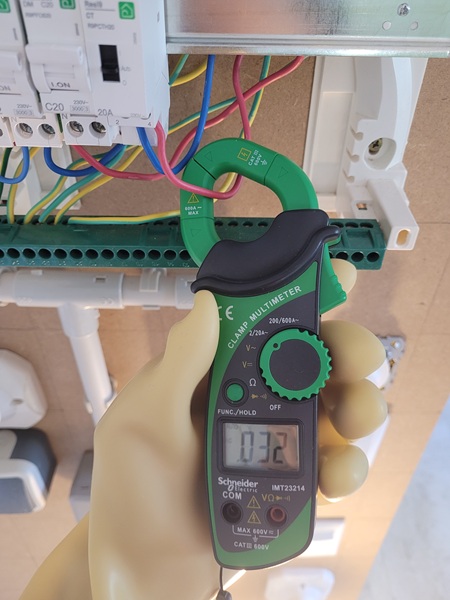
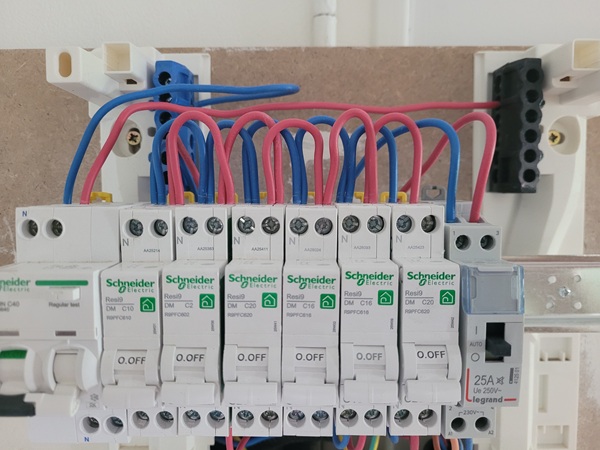
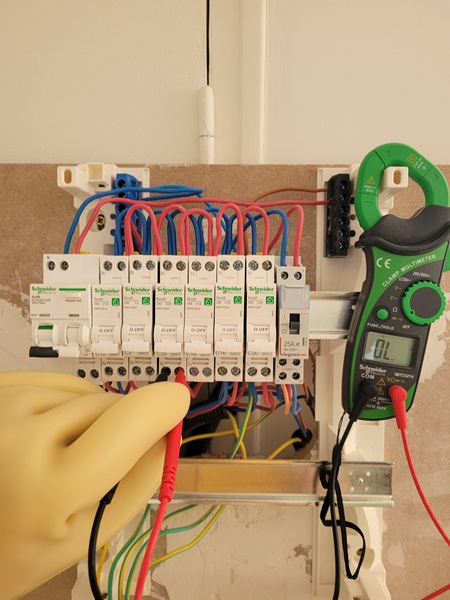
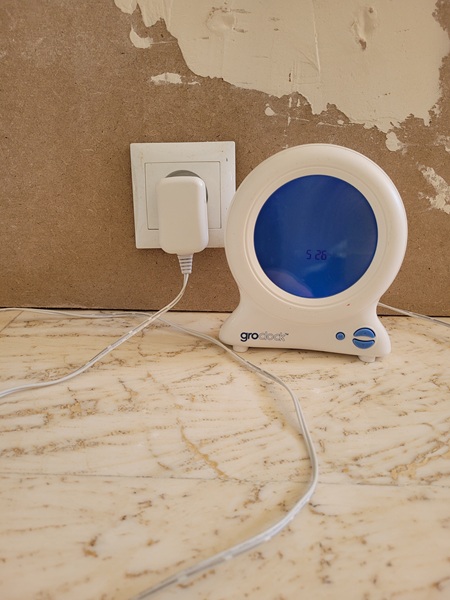
- Multimeter en amont of disjoncteur always shows 230V. En aval shows 0 if off, 230 if on
- The screws in the disjoncteur are electrolised!


Exercise 12
- P = U * I
- R = U / I

Exercise 13


Exercise 14


Exercise 15

Exercise 16


Exercise 17

Exercise 18


Exercise 19
- Test to see what is wrong
- Then disconnect installation and use the multimeter on continuity mode to detect the fault. Here, you can leave one side on and the other side is on regardless of switch position.

Exercise 20
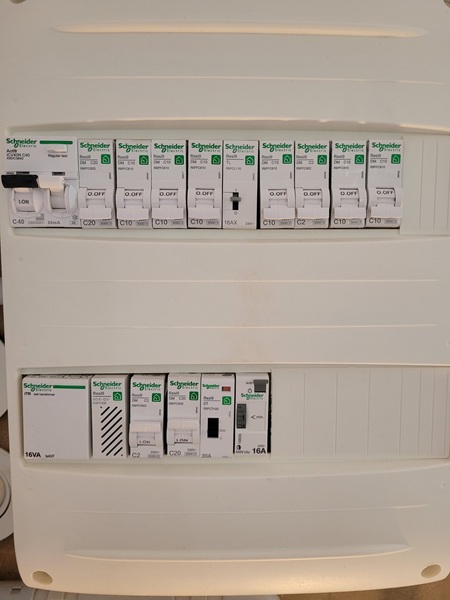
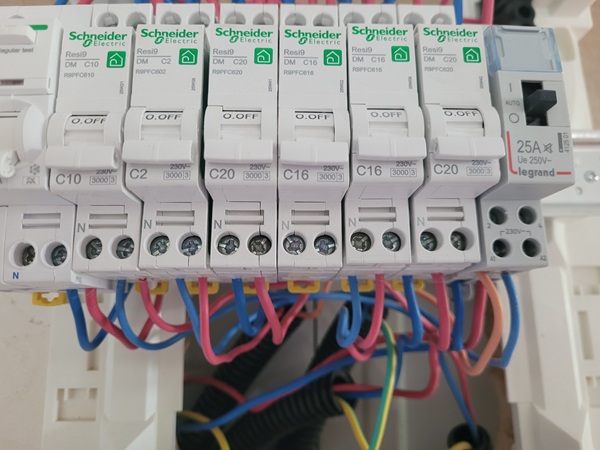
- 8 disjoncteur maximum behind a disjonteur differentiel or interreupteur differentiel


Exercise 21
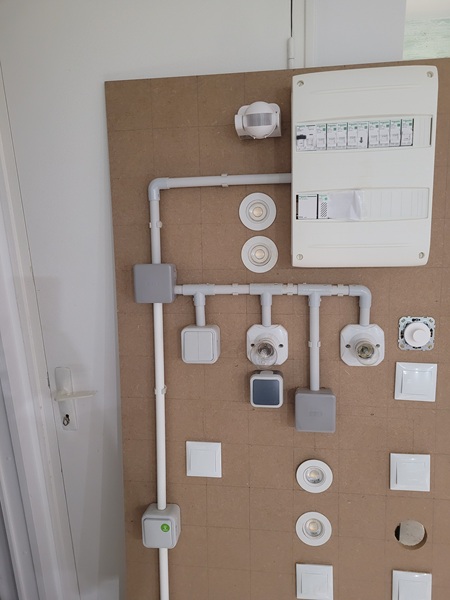
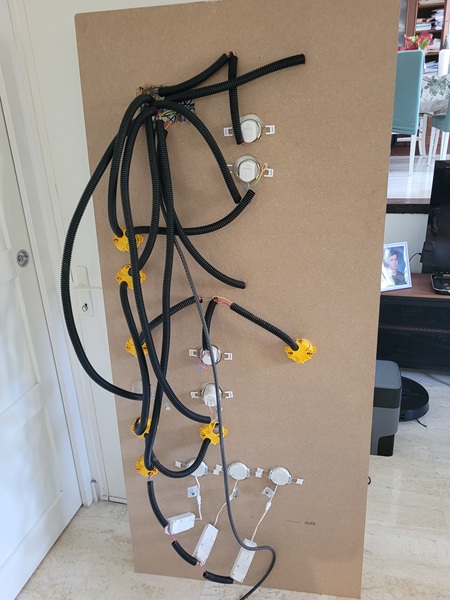
- With IRL with corners, you can’t just push it through or it becomes all twisted and impossible. You need to use a tire-fil. Also, don’t dissassemble the IRL to try to pull bits through. You need to maintain tautness, don’t allow slack to introduce.


Exercise 22
- Remember to connect your new disjoncteur differentiel to the others with a pont!
- Bottom of DD is live to switches
- Top of telerupteur is live return from switches and connect to neutral from DD
- Bottom of telerupteur is live from DD and live to lights and neutral to lights


Exercise 23
- This one I didn’t do but it is to install a minuterie. Cabling is almost the same as a telerupteur, but slightly different. Check the diagram that comes with the minuterie to be sure.
Exercise 24


Exercise 25
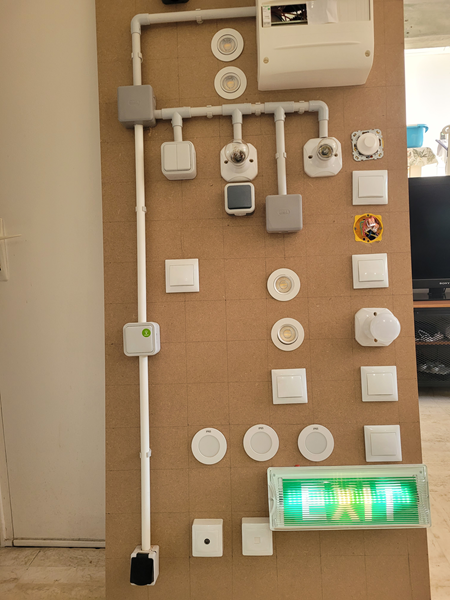
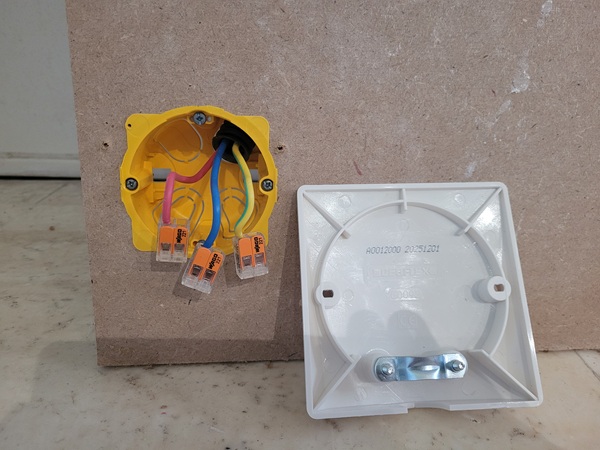
- When putting in the behind boite d’encastrement for light switches, do a dry run with the switch as some can be attached with the top and bottom screws and some require the side ones as otherwise it doesn’t rotate.


Exercise 26

Exercise 27
- Go fast but think and check too:
- Wire thickness, this is right?
- Earth? Any other wires you need to pass?
- Use multmeter to check continuity of switches to know which way is on vs off

Exercise 28
Exercise 29
Exercise 30
- Volet roulant
- Just watched the correction to avoid spending more. With a separate up and down button, wires like a light switch commanding two lights separately.
Exercise 31
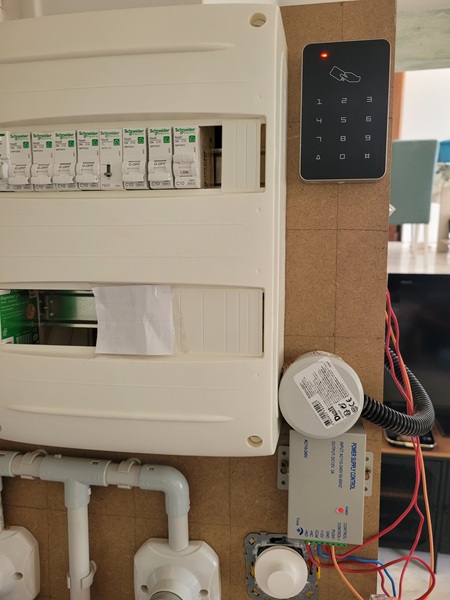
- Câbler la gâche électrique
- Command of the gache:
- Common (COM) blue.
- Command (NO) brown.
- Arrival of bouton poussoir:
- GND we bring tension to bouton poussoir – red
- PUSH return from bouton poussoir – violet
Exercise 32
- Associer la digicode
- Just follow the instructions, normally you put in 12V, then share PUSH and GND with the push button. Leave alone the COM and NO that go to the gache
- Be super careful adjusting timer. I broke the piece in the circuit board by inserting screwdriver too hard
Exercise 33
- Give more ICTA than you think, to be sure wires are completely covered end to end
Exercise 34
- When you have something with pins, remember to tighten the screws or barely any electricity will flow and continuity will work but tension will be really low!
- Remember it’s often just the live which is switched. Check neutral if there should be a derivation somewhere so it isn’t switched.
Exercise 35
Exercise 36
- Quiz. RAS.
Exercise 37
- Quiz RAS
Exercise 38
- CAP ecrit. RAS
Exercise 39
- Cahier technique. RAS
Exercise 40
Exercise 41
- RJ45 – Follow A or B indications depending on installation type (A domestic, B office, but check indications in exam).
Exercise 42
- Coaxial cable, strip with electrician’s knife

Exercise 43
- RAS ecrit corrigé.
Exercise 44
- RAS ecrit corrigé.
Exercise 45
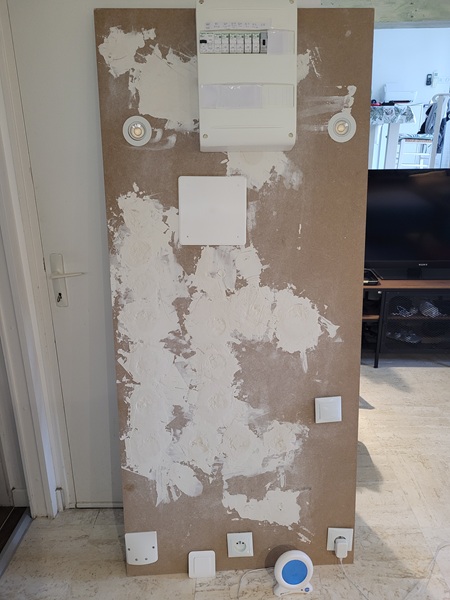
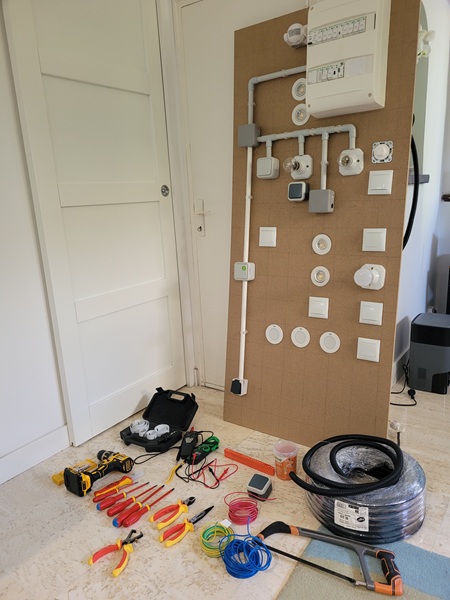
- Démontage
Exercise 46
- CAP blanc EP1
- For the light switches and prise, try them without wires first. If doesn’t fit you may be able to snap some of the plastic off.
Exercise 47
- CAP blanc EP2 – turing on what was done in EP1 and taking measurements
Exercise 48
- CAP blanc EP3 – needed to install a minuterie but just watched the correction to avoid spending more.
Exercise 49
- CAP blanc EP1 – Corrigé
- Read carefully but execute quickly, it takes longer than you think even if it seems easy
- The plugs and interrupters are difficult to put in with screw as side bits can block them
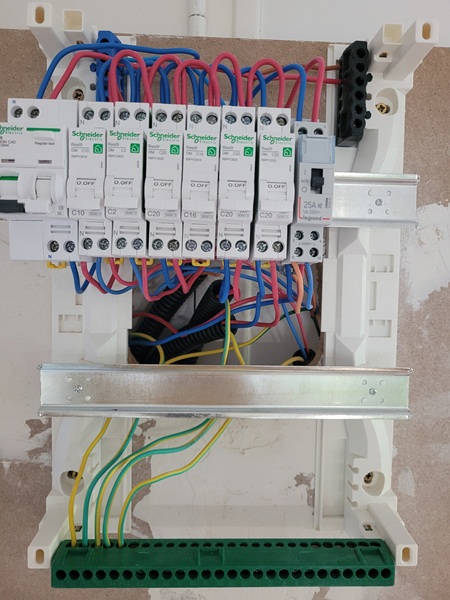
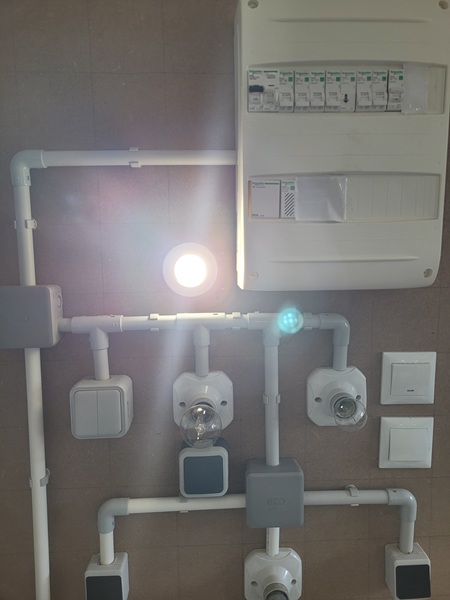
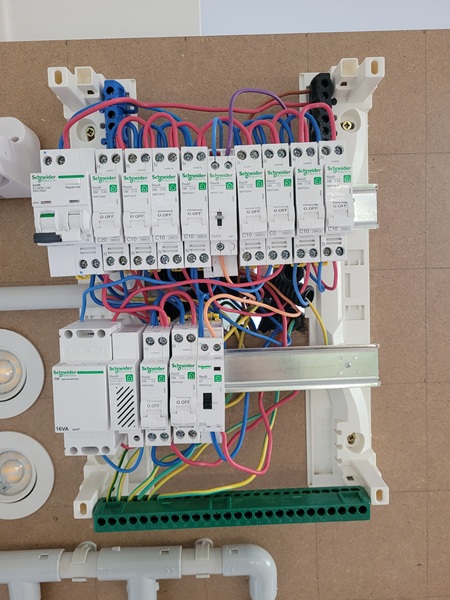
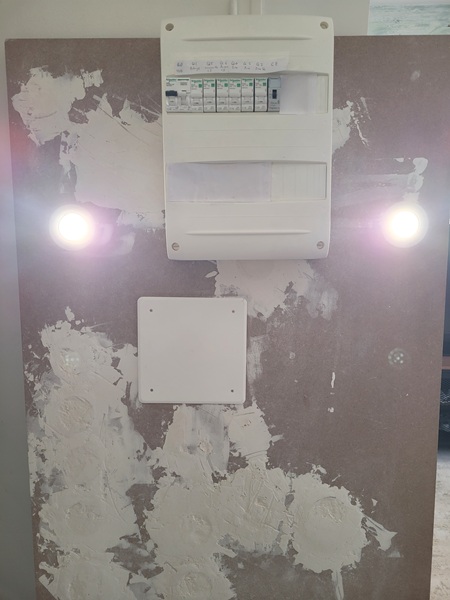
- In real life, the tableau électrique should have 6 or 10mm wiring between disjoncteurs to prevent a depart de feu, or better a peigne.

Exercise 50
- CAP blanc EP2 – Corrigé
1. Put your EPI (check in front of examiner no holes via rolling)
2. VAT absence of tension (auto test, check no tension, auto test)
3. Liaison equipotential. Test de continuity. Bornier earth and metal lamps, earth bit in plug sockets. Should sound.
4. Absence of courtcircuit. Continuity. Live and neutral in borne aval. Should not sound. Disjoncteur differential, then all disjoncteur divisionnaires.
5. Le test d’isolement. With a MÉGOHMMÈTRE as described above. Need isolation gloves and facial protection
6. Le test de la function differentiel – facial and isolation gloves. Just dis diff on. Turn on elec. Press auto test button.
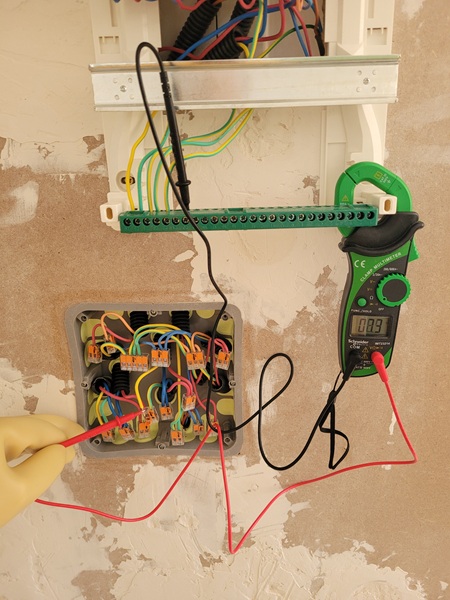
7. Les measures de tension à vide – Presence de tension (230V). Check en amont of dis diff. Then en aval. Then en amont of the disjoncteurs divisionnaires. Then turn on lowest calibre dis div. Then check aval. Then bigger calibre. And check presence de tension.
8. Test fonctionnel à vide. Still on. Remove ampoules. Test presence de tension in prise de courants. Check light switches doesn’t trip anything. Check transformers, getting 230V where expected.
9. Essai en charge. Light bulbs back and all working Prises are working. The turn lights on and measure intensity, to make sure it isn’t superior to the calibre of the dis div.

Exercise 51
- CAP blanc EP3 – Corrigé